Microsoft Loop - First Glance

Introduction: 

In this blog, we will explore Microsoft Loop App. We will learn about the basics of the Loop App and how it can become one of the best productivity tools.


Pre-requisites: 

  • Enable Loop App for your Organization

Books & References: 

Demonstration: 

1. Signup / Sign-In:
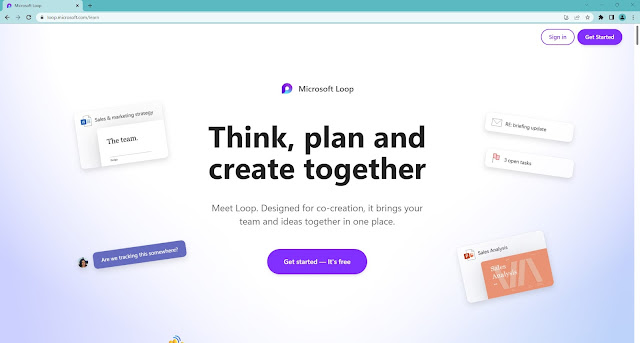
You will need to visit aka.ms/loop to get started with Loop Setup. Once you open the link, you can click on Sign In 


Once, you select the Users to Login


Once you are logged in with User , you will be able to view the Loop App.

If your organization has not enabled, you can enable the access using Enable Loop for your Organization

I tried to create a new signup with a different trial account. Hit get started with Loop.
Once the Get Started button is clicked,  you will b redirected to main loop page.
 

After hitting Get Started with Loop, you will get a message to wait and immediately redirected to the loop.


2. Use Loop:
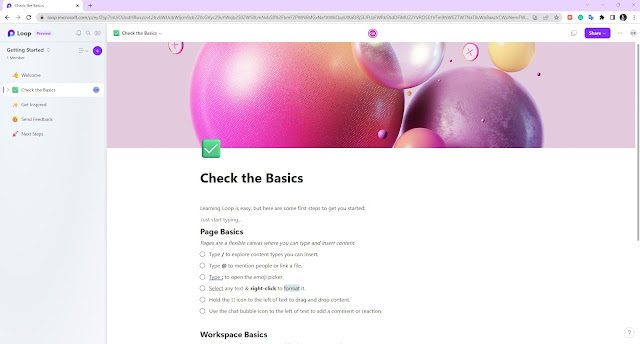
Once you have successfully logged into Loop, you will have a default Check the Basics screen.

Page Basics
Pages are a flexible canvas where you can type and insert content
  • Type / to explore content types you can insert.
  • Type @ to mention people or link a file.
  • Type : to open the emoji picker.
  • Select any text & right-click to format it.
  • Hold the ⋮⋮ icon to the left of text to drag and drop content.
  • Use the chat bubble icon to the left of text to add a comment or reaction.

Workspace Basics

Workspaces are for grouping everything important to a project.
  • Use the sidebar to navigate.
  • Click the Loop logo to see all your workspaces.
  • Create a workspace for each of your projects.
  • Click the round, purple + button in the sidebar to add a page or link.

Right click on the six dots and Create Loop Component. You can share this loop component over email and can be used to get real-time inputs from your team.

You can click on the Comments icon, to create comments and submit your feedback


3. Share & Collaborate:
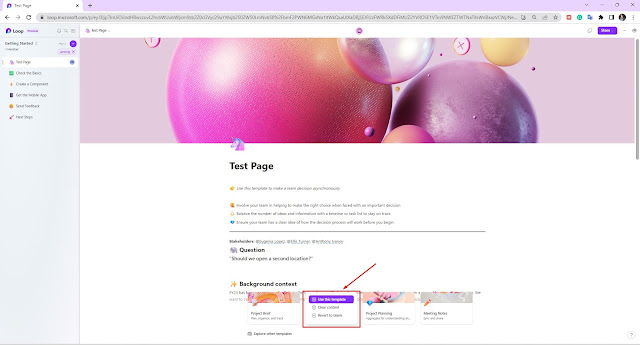
To  Create a Page, click on the + icon, you can create a template
Once you have added the page and contents to it, you either share the workspace with the team.


Email to the workspace is received as below.

You can also email a component by selecting the component > Share > Email component.


To understand the capabilities in detail you can also view the quick video from Kevin

Conclusion:

Microsoft Loop is a great tool for productivity and day-to-day communication, documentation, and collaboration.
I hope this blog helps!
For any questions feel free to email me at olisterr@outlook.com.


Comments

Popular posts from this blog

Something went wrong. An Error occurred - Error Resolution

Introduction: With the installation of NAV 2018 or BC On-premise, I have observed that when creating New Server Instance and New WebServer Instance, you will get the error 'Something went wrong. An Error occurred '. I referred to the community questions below but didn't find my resolution. Hence, I decided to write this blog. Pre-requisites: Microsoft Dynamics Business Central - On-Premise / NAV 2018 Understanding of Business Central Authentication  Books & References: https://community.dynamics.com/nav/f/microsoft-dynamics-nav-forum/261301/nav-2018-web-client-an-error-has-occurred https://community.dynamics.com/business/f/dynamics-365-business-central-forum/421987/error-something-went-wrong-an-error-has-occurred-azure-ad-tenant Demonstration: 1. Creation of NAVServerInstance: In order to create NAVServerInstance, you can either add the Server Instance through Business Central Administration or Powershell command. Add Instance - Business Central Administration Add Insta...

How to resolve 'Edit in Excel' issues

  Introduction: As you know that D365 BC offers Edit in Excel functionality. But manipulating or customizing such a  standard functionality is difficult as there is not much control available. Hence, solving issues is also a difficult task. I will be resolving the issue for this specific issue, however, the debugging steps are similar. Pre- requisites : ODATA V4 Connectivity tool for Webservices Microsoft Dynamics 365 Business Central Books & References: https://community.dynamics.com/business/f/dynamics-365-business-central-forum/448226/issue-with-excel-add-in/ Demonstration: The way Edit in Excel works is that for a given page a Webservice is created adding PageID and Page Name. Hence, there are some Webservice connectivity checks in place to validate. 1. Edit in Excel Custom Action on the page: If you are adding Edit in Excel Action on the page, please ensure that you are providing appropriate PageName and Filter criteria as Webservice is using these parameters Refer Ed...

Installing LS Central - POS on local machine

Introduction: In this blog, I'm attempting to capture the LS Central - POS installation process on Local Machine. This blog has nothing to do LS Central - Server Setup for POS. LS Retail / LS Central - On Premise POS Pre- requisites : LS Central Installed on Server SSL Setup on LS Server (https://www.olisterr.tech/2020/03/how-to-setup-navuserpassword-with-ssl.html) LS - POS Installer Business Central - On Premise Installer Demonstration: Once your LS Retail / LS Central POS is setup on the main server. Just prior to Go-Live, you will actually have to install this POS on multiple systems and connect these POS to the main server with LS Retail / LS Central. 0.Preparation: Prior to actually installing Business Central On-Premise Windows Client, you need to make sure that you're able to ping the target with the correct Port number. For this I made use of PS-Ping tool.  PSPing - IP Address: Port If you're unable to PS-Ping the correct IP with Port number, simply check the Advan...