Introduction:
With the installation of NAV 2018 or BC On-premise, I have observed that when creating New Server Instance and New WebServer Instance, you will get the error 'Something went wrong. An Error occurred '.

I referred to the community questions below but didn't find my resolution.
Hence, I decided to write this blog.
Pre-requisites:
- Microsoft Dynamics Business Central - On-Premise / NAV 2018
- Understanding of Business Central Authentication
Books & References:
- https://community.dynamics.com/nav/f/microsoft-dynamics-nav-forum/261301/nav-2018-web-client-an-error-has-occurred
- https://community.dynamics.com/business/f/dynamics-365-business-central-forum/421987/error-something-went-wrong-an-error-has-occurred-azure-ad-tenant
Demonstration:
1. Creation of NAVServerInstance:
In order to create NAVServerInstance, you can either add the Server Instance through Business Central Administration or Powershell command.
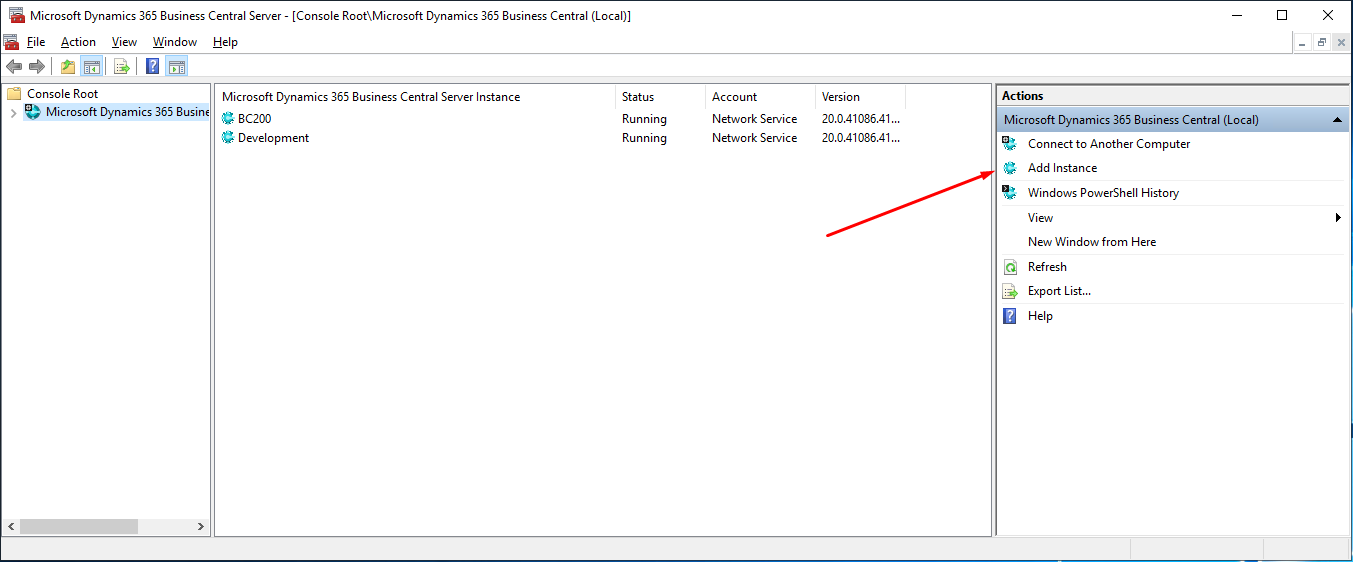 |
| Add Instance - Business Central Administration |
 |
| Add Instance - Ports and Service Account - Business Central Administration |
PowerShell Command:
New-NAVServerInstance
-ManagementServicesPort <ServicePort>
[-ClientServicesPort <ServicePort>]
[-SOAPServicesPort <ServicePort>]
[-ODataServicesPort <ServicePort>]
[-DeveloperServicesPort <ServicePort>]
[-SnapshotDebuggerServicesPort <ServicePort>]
[-DatabaseServer <DatabaseServer>]
[-DatabaseInstance <DatabaseInstance>]
[-DatabaseName <DatabaseName>]
[-Multitenant]
[-DatabaseCredentials <PSCredential>]
[-ClientServicesCredentialType <String>]
[-ServicesCertificateThumbprint <ClientServicesCertificateThumbprint>]
[-ServiceAccount <ServiceAccount>]
[-ServiceAccountCredential <PSCredential>]
[-ServerInstance] <String>
[-Force]
[-WhatIf]
[-Confirm]
[<CommonParameters>]
2. Creation of NAVWebServerInstance:
You will need to run the New- NAVWebServerInstance Powershell command to create WebServer Instance.

Powershell Command: New-NAVWebServerInstance -Server localhost -ServerInstance UAT -WebServerInstance UAT
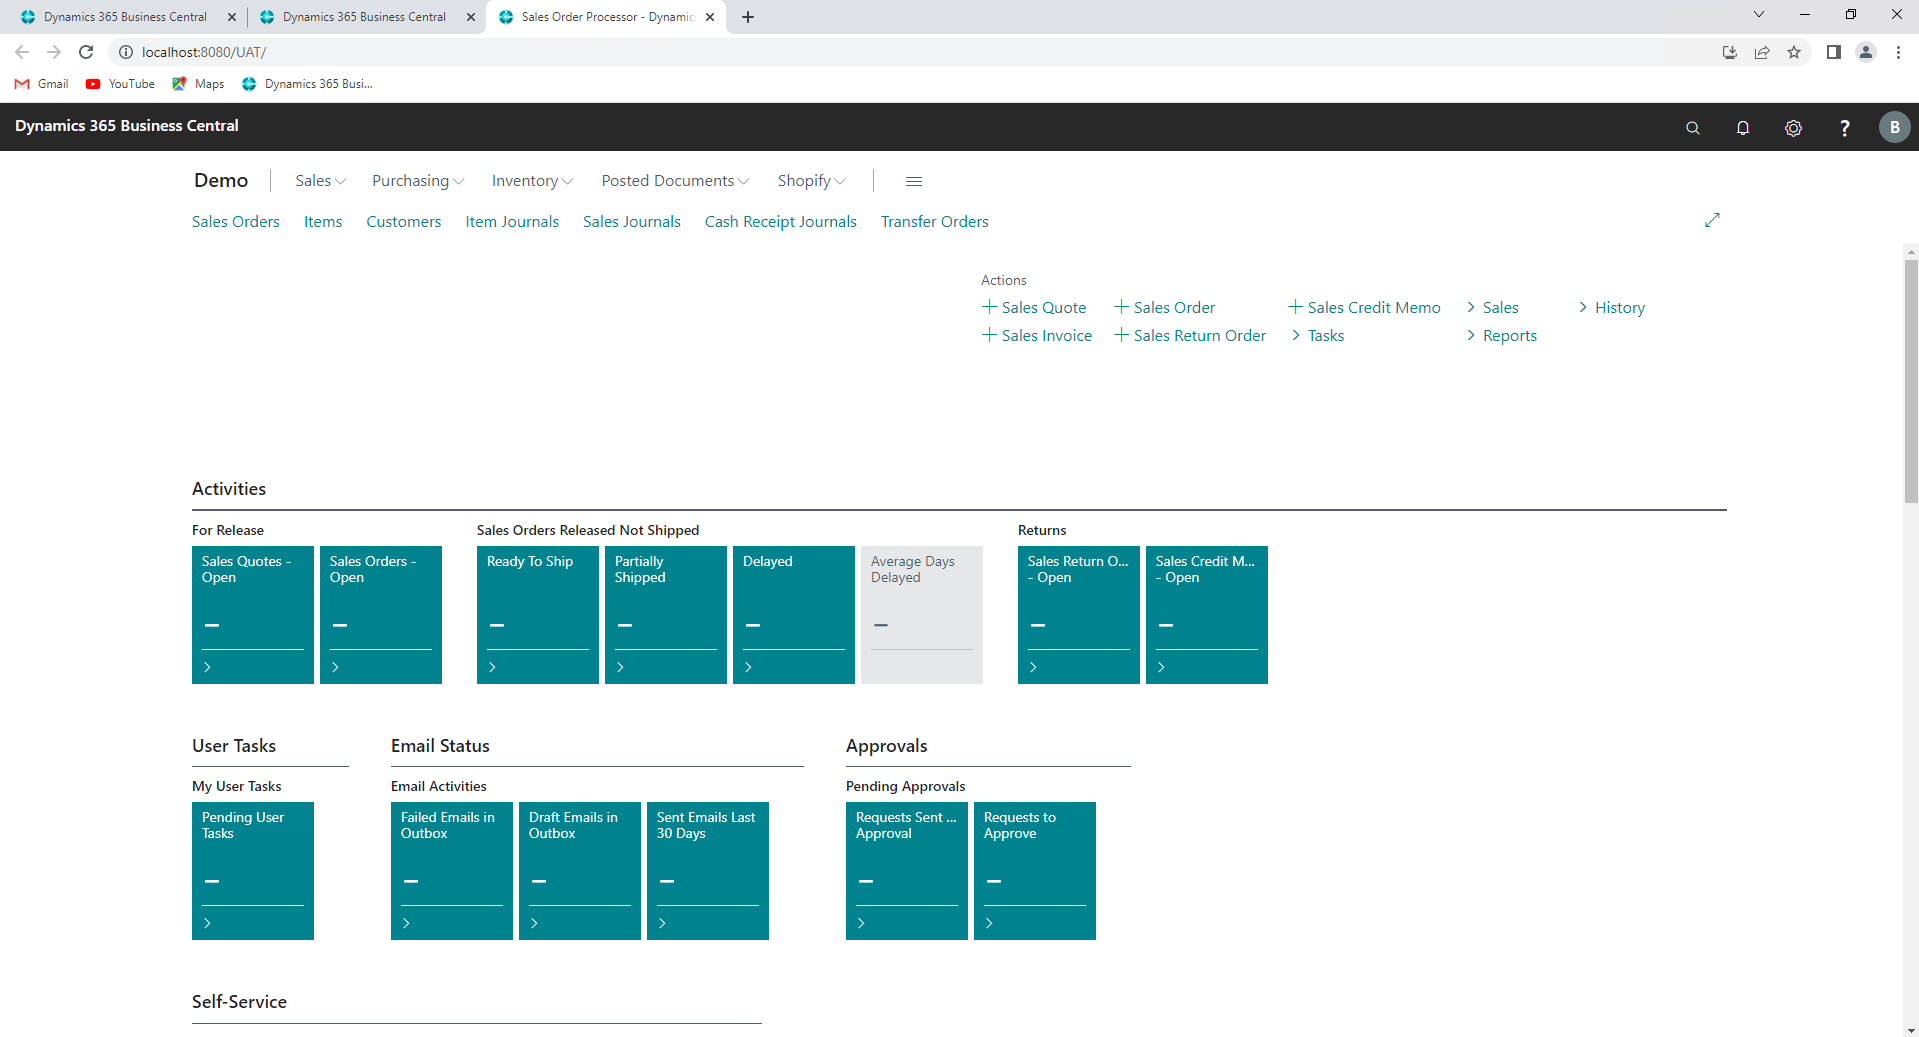
At this point, both your Server Instance and Web Server Instances are created. These instances are generally created with default configurations provided in the Business Central installation.
Also, if you call the URL, you will get the following error.

3. Update the Web Client Base URL, Port No. in NAVServerInstance:
You will see that the Web Client Base URL is the default one irrespective of your Web Server Instance
Name.
Notice the default Web Client Base URL-
Notice the default Web Client Base URL-
 |
| Change the Default Web Client Base URL, ODATA Base URL, and SOAP Base URL |
You will need to set up as
http or https://<Hostname>/<WebServerInstanceName>/Webclient and port number respectively as per your original Server Instance Setup
4. Update the NavApp Setting JSON file:
You will also observe that the Client Service Port No., Host is copied from the default Webserver Instance configuration.
 |
| WebServer Configuration located at C:\inetpub\wwwroot\<WebServer Instance Name>\navsettings.json |
 |
| Change the ClientServicesPort, ManagementServicesPort, ServerInstance, ClientServicesCredentialType as highlighted |
5. Restart NAVServerInstance and NAVWebServerInstance:
Restart the NAVServerInstance through Business Central Administration or Powershell.
Restart the Web Server Instance by restarting IIS Service.
Now, Business Central will work as expected.
Conclusion:
I hope this solution helps you or guides you to check the configurations correctly.If case of any issue feel free to drop a comment or email me at olisterr@outlook.com
Thanks and Cheers!!
Comments
Post a Comment
Let me know your comments below. I'll try my best to answer your comment