Introduction:
In this blog, I would like to discuss the AL Profiler.
Also, I will be sharing my views on how the AL profiler relates to the Performance Profiler.
Also, I will be sharing my views on how the AL profiler relates to the Performance Profiler.
Pre-requisites:
- Basic understanding of Profiler
Books & References:
Demonstration:
In order to get the AL Profiler up and running there are a few steps on very high level.
You need to create a snapshot debugger then you will need to initialize the debugging session, record the snapshots and then generate the profiler file.
Lets see each in detail below -
You need to create a snapshot debugger then you will need to initialize the debugging session, record the snapshots and then generate the profiler file.
Lets see each in detail below -
1. Setup the Snapshot Configuration:
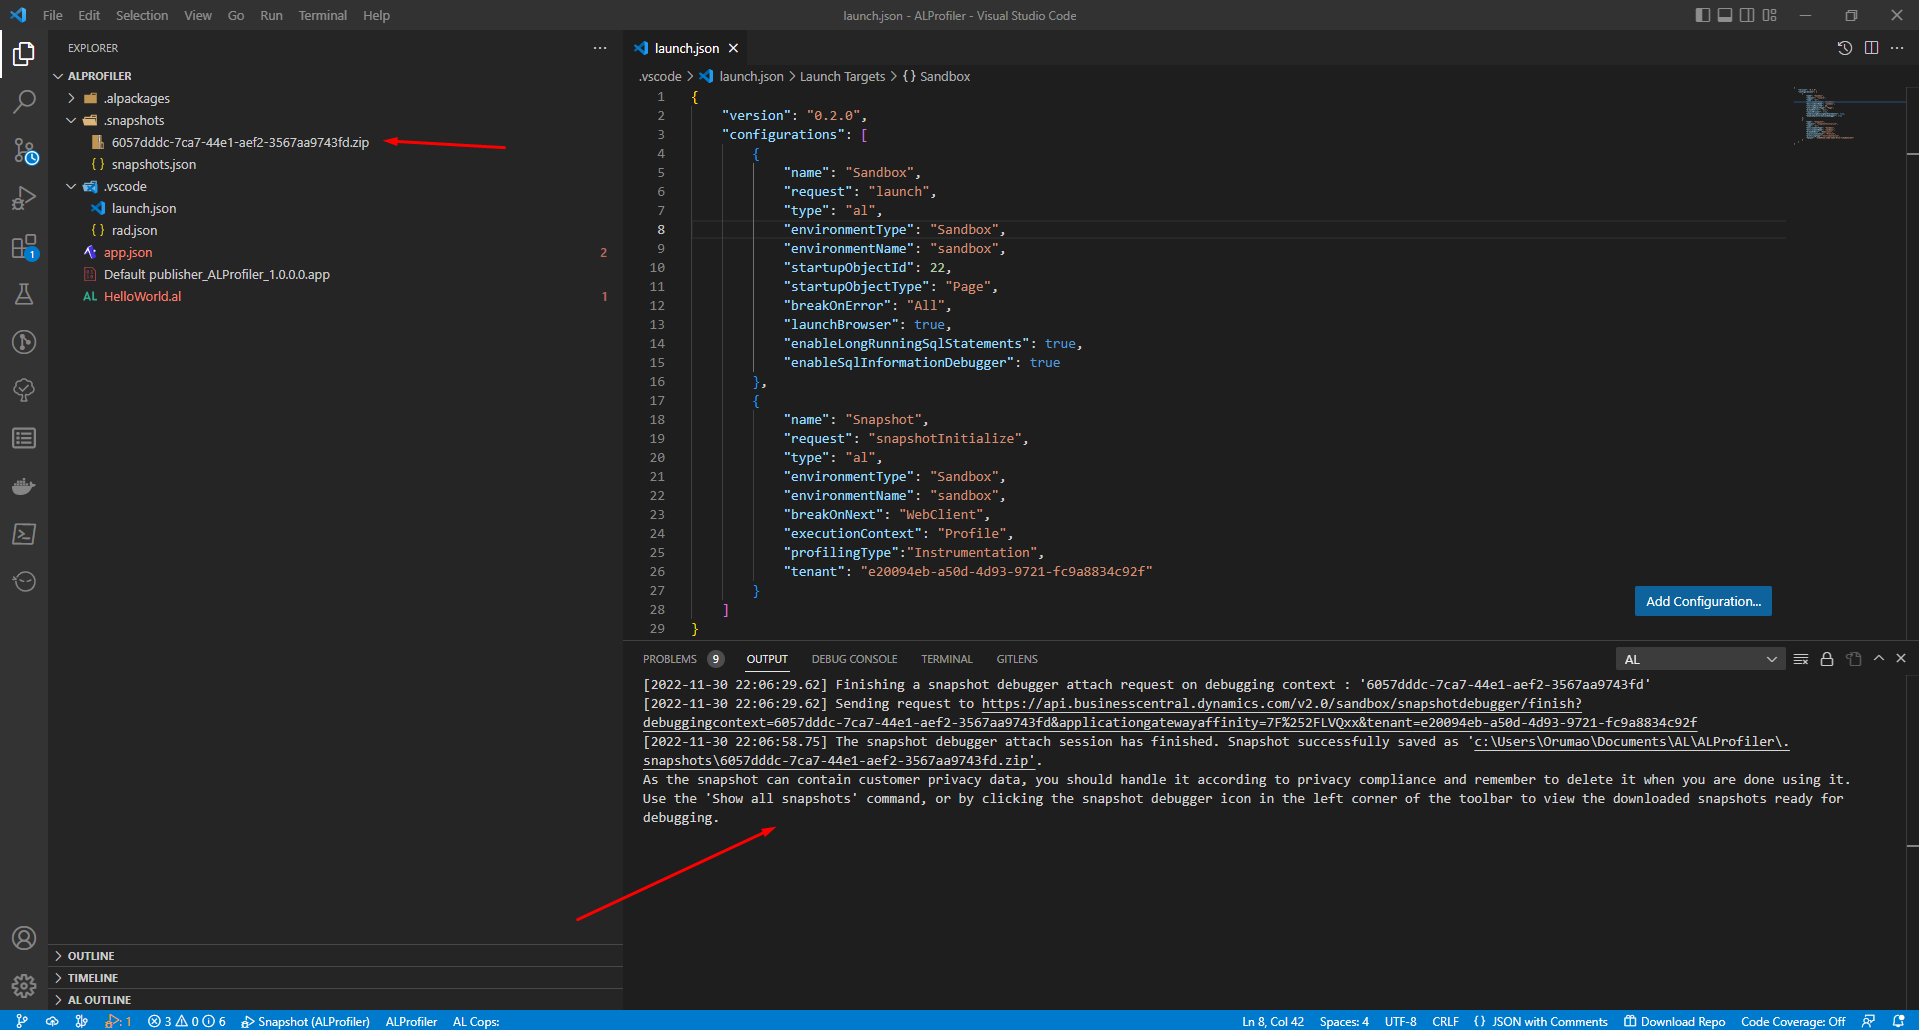
Once you create a Project, you can create a Snapshot configuration in launch.json file.
{
"version": "0.2.0",
"configurations": [
{
"name": "Sandbox",
"request": "launch",
"type": "al",
"environmentType": "Sandbox",
"environmentName": "sandbox",
"startupObjectId": 22,
"startupObjectType": "Page",
"breakOnError": "All",
"launchBrowser": true,
"enableLongRunningSqlStatements": true,
"enableSqlInformationDebugger": true
},
{
"name": "Snapshot",
"request": "snapshotInitialize",
"type": "al",
"environmentType": "Sandbox",
"environmentName": "sandbox",
"breakOnNext": "WebClient",
"executionContext": "Profile",
"profilingType":"Instrumentation",
"tenant": "e20094eb-a50d-4d93-9721-fc9a8834c92f"
}
]
}
Note the following changes in Snapshot configuration
- Request - Tells the VS Code to Initialize a snapshot session with the configuration
- BreakOnNext - Tells when to start the snapshot session. Basically after you have initialized the snapshot debugging from VS Code, you will have to open another sessions and then the snapshot begins.
- ExecutionContext - Tell the BC Server whether you will be using the snapshots for Debugging or Performance Profiling or Both
- ProfilingType - Tell at what sampling rate should the snapshots be captured. Instrumentation means all the frames and sampling means capture only at sampling rate.
2. Start the Snapshot Session:
To start the Snapshot Session, you will need to hit F7 to Initialize Snapshot Debugging.
OR Hit Ctrl + Shift + P to get the command selection and select Initialize Snapshot Debugging.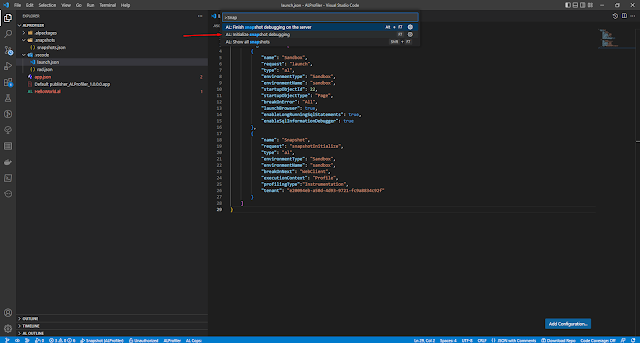
OR Hit Ctrl + Shift + P to get the command selection and select Initialize Snapshot Debugging.

Once the Snapshot is initialized, you need to start the session by click on SnapShot Debug icon on left corner (below)

You will need to select the Snapshot session

Now start Business Central Session for the Snapshot session to start capturing your processes.
If everything is fine then you will get a pop-up for snapshot debugging.
If everything is fine then you will get a pop-up for snapshot debugging.

3. End the Snapshot Debugging Session:
Once you are done with running the process, you can stop the Snapshot Debugger by hitting Alt + F7 or Hit Ctrl + Shift + P and select Finish Snapshot Debugging Session.

You will need to select the Snapshot Debugging session in VS Code to finish.

After few seconds your Snapshot Debugging should stop and a ZIP file should be created in .snapshots folder.
4. Generate the Profile File:
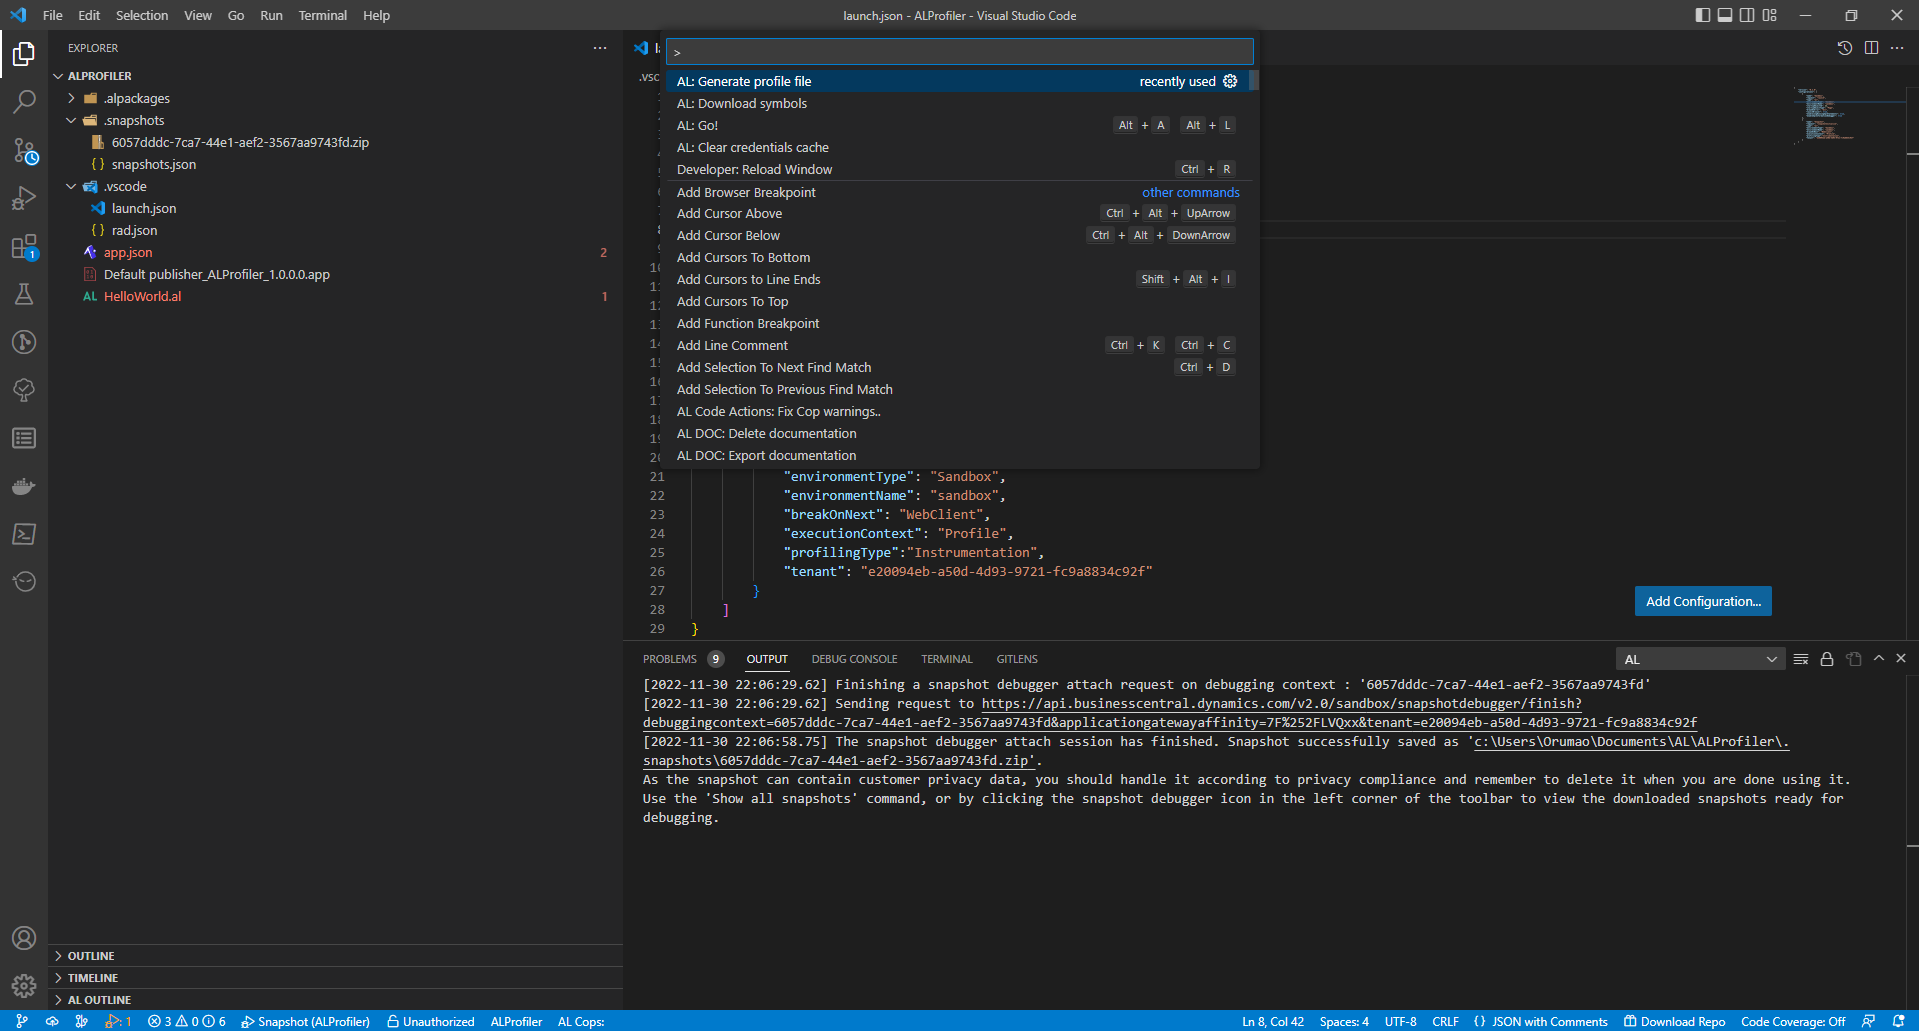
To generate the AL Profiler File, you can hit Ctrl + Shift + P and select Generate Profiler File.


Conclusion:
Thank you for reading and hope this blog helps. In the upcoming blogs I will also write about Snapshot Debugging in Business Central.
Comments
Post a Comment
Let me know your comments below. I'll try my best to answer your comment