
Exploring Microsoft Forms

Introduction:

In this blog, I will be attempting to explore Microsoft Forms completely.

Pre-requisites:

Microsoft Office 365
Microsoft Forms

Demonstration:

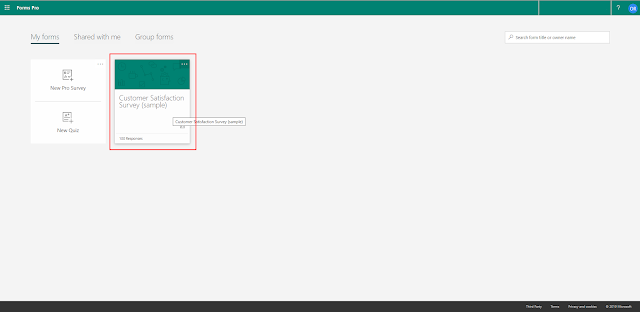
1. Navigating to Microsoft Forms Pro:
Go tohttps://portal.office.com and click on Forms in the Listed Apps

2. Template:

List of Templates to Create a Form
Templates are a ready-made format for the forms. You can make additions or deletions as per your requirement.

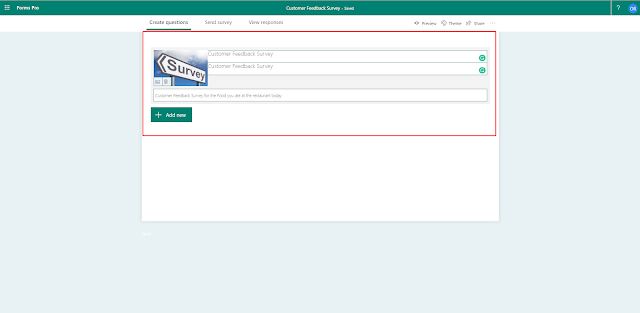
3. Creation of New Form:
Creation of Forms includes making a form with the respective title, description, theme, and a logo.
Create a Form

Adding questions to Microsoft Forms:
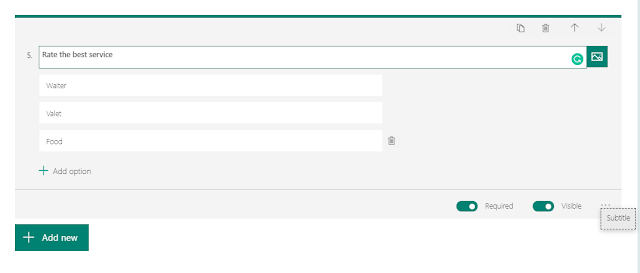
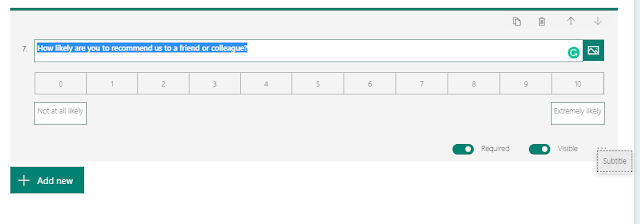
Adding questions can be of different types. It can also include all the validations, making questions mandatory and set-up a subtitle for the question in case more information is needed on it. Also, each question can have an image to convey the overall gist of the question.

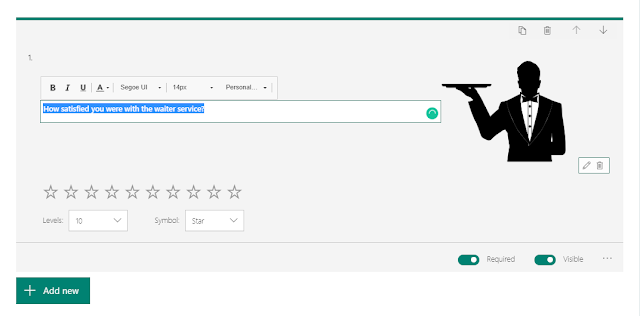
Adding Rating based questions
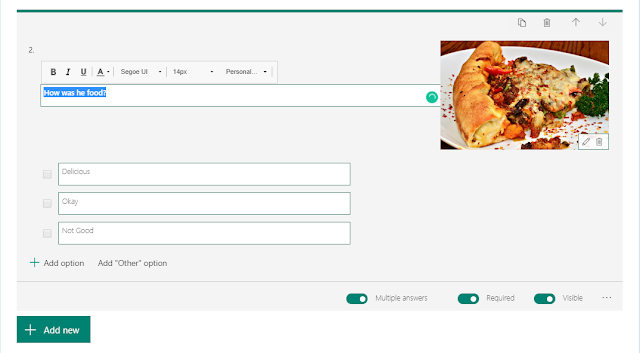
Adding Choice-based questions
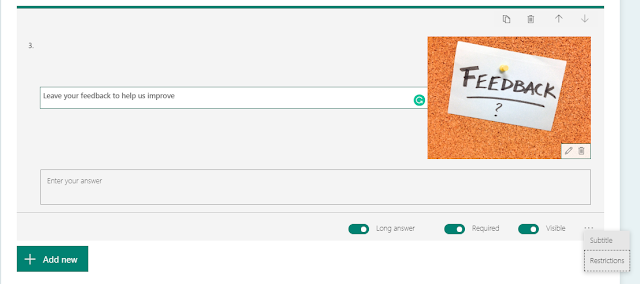
Adding Text-based questions

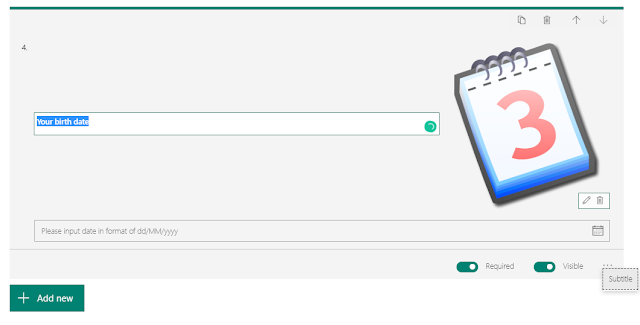
Adding Date based questions
Adding Rank based questions


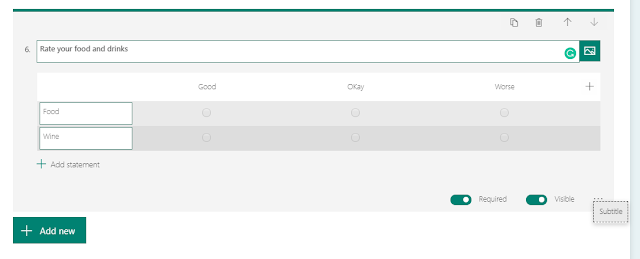
Adding a multiple Rate based question
Adding a Whole Number rating based question
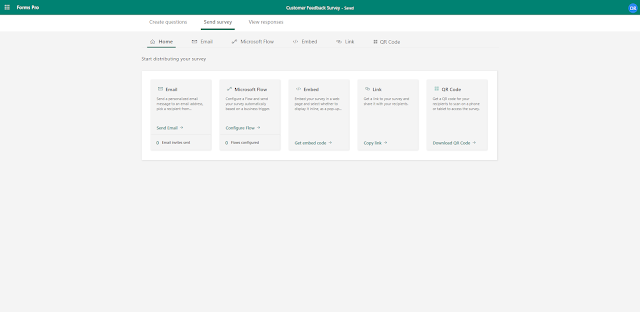

4. Sharing Link:
Sharing a form can be a very easy task. A form can be shared through an Email, Microsoft Flow, Link Sharing and QR Code generation.
Sharing the Forms Link

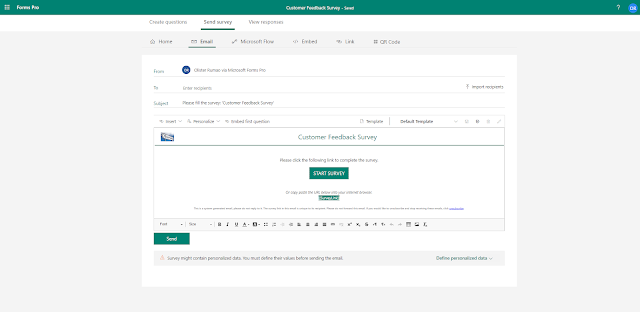
Sharing the Form Link through Email
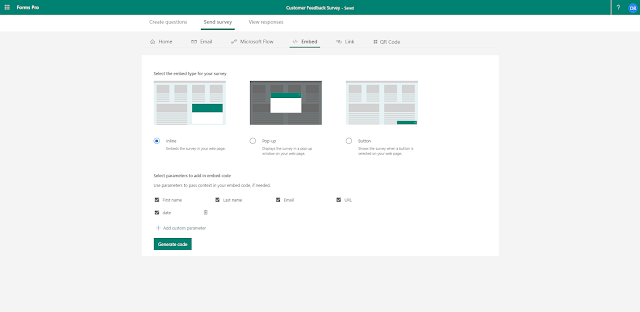
Sharing Form Link by Embedding in your Website


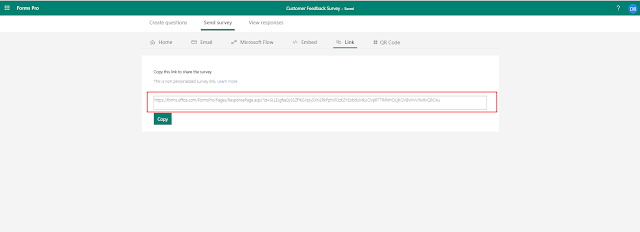
Creating a Link for the Form
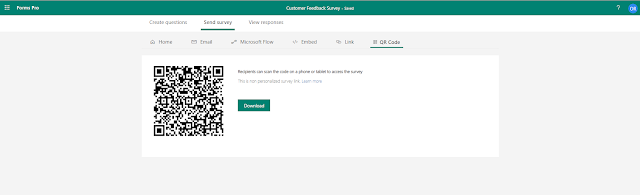
Creating a QR Code for the Form


5. Getting Responses:
Here you find a list of responses which becomes available after your Survey, the form has been answered.

Conclusion:

Microsoft Forms is a versatile tool to be used wherever data entry is required. It is relatively simple and easy for anyone to use it

Comments

Popular posts from this blog

Something went wrong. An Error occurred - Error Resolution

Introduction: With the installation of NAV 2018 or BC On-premise, I have observed that when creating New Server Instance and New WebServer Instance, you will get the error 'Something went wrong. An Error occurred '. I referred to the community questions below but didn't find my resolution. Hence, I decided to write this blog. Pre-requisites: Microsoft Dynamics Business Central - On-Premise / NAV 2018 Understanding of Business Central Authentication  Books & References: https://community.dynamics.com/nav/f/microsoft-dynamics-nav-forum/261301/nav-2018-web-client-an-error-has-occurred https://community.dynamics.com/business/f/dynamics-365-business-central-forum/421987/error-something-went-wrong-an-error-has-occurred-azure-ad-tenant Demonstration: 1. Creation of NAVServerInstance: In order to create NAVServerInstance, you can either add the Server Instance through Business Central Administration or Powershell command. Add Instance - Business Central Administration Add Insta...

How to resolve 'Edit in Excel' issues

  Introduction: As you know that D365 BC offers Edit in Excel functionality. But manipulating or customizing such a  standard functionality is difficult as there is not much control available. Hence, solving issues is also a difficult task. I will be resolving the issue for this specific issue, however, the debugging steps are similar. Pre- requisites : ODATA V4 Connectivity tool for Webservices Microsoft Dynamics 365 Business Central Books & References: https://community.dynamics.com/business/f/dynamics-365-business-central-forum/448226/issue-with-excel-add-in/ Demonstration: The way Edit in Excel works is that for a given page a Webservice is created adding PageID and Page Name. Hence, there are some Webservice connectivity checks in place to validate. 1. Edit in Excel Custom Action on the page: If you are adding Edit in Excel Action on the page, please ensure that you are providing appropriate PageName and Filter criteria as Webservice is using these parameters Refer Ed...

How to Transfer Files through API using Base64 Stream to Business Central

Introduction: Transferring data from Business Central Tables through API is one of the latest version of transferring data from or to Business Central using the API Page Objects or  Web Services. Well, it gets a little difficult to transfer file blobs using the Media.ReadLinks and Media.EditLinks JSON field. Pre-requisite: Understanding of Business Central API Understanding how Blobs are accessible to Business Central AL Language Extension VS Code Understanding of JSON Data Types References: https://www.olisterr.tech/2019/09/understanding-apis-in-business-central.html https://demiliani.com/2020/01/24/dynamics-365-business-central-handling-blob-fields-on-apis/ https://docs.microsoft.com/en-us/dynamics365/business-central/dev-itpro/developer/methods-auto/jsonobject/jsonobject-data-type Solution: 1. Using Business Central API to Pass Data from  BLOB to Base64 String: Whenever you have a file in a BLOB field and want to transfer as a Base 64 string to API - POST Request. Con...